Sportquest Top Tips on what you will need to Halibut float fish, how to set the float rig up and when to use it.
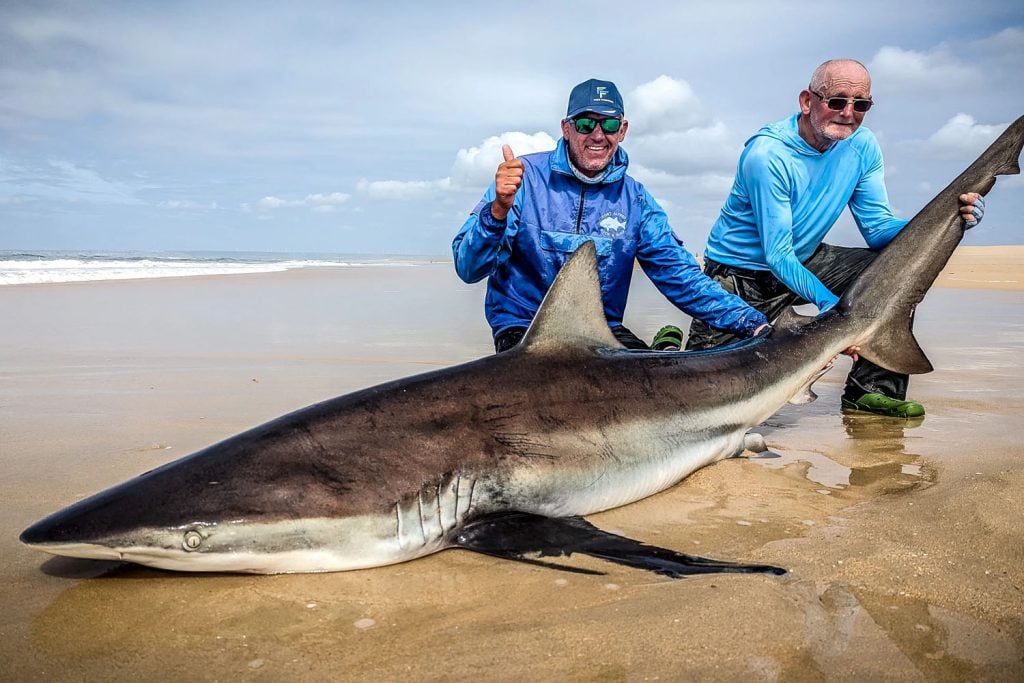
When you think of Halibut fishing in Northern Norway or Iceland your mind is instantly drawn to using shads, pirks and standard dead bait rigs as these are tried and tested methods to target Halibut. One method that is now starting to attract a lot of attention is float fishing for them, yes float fishing. The concept is no different than float fishing for small species. All you need is a float, a weight and hook it’s that simple.
Many people think that setting up a float rig for fish of this size has to be complicated, but let us tell you that it isn’t and with very few components you will be set to go.
Tackle you will need
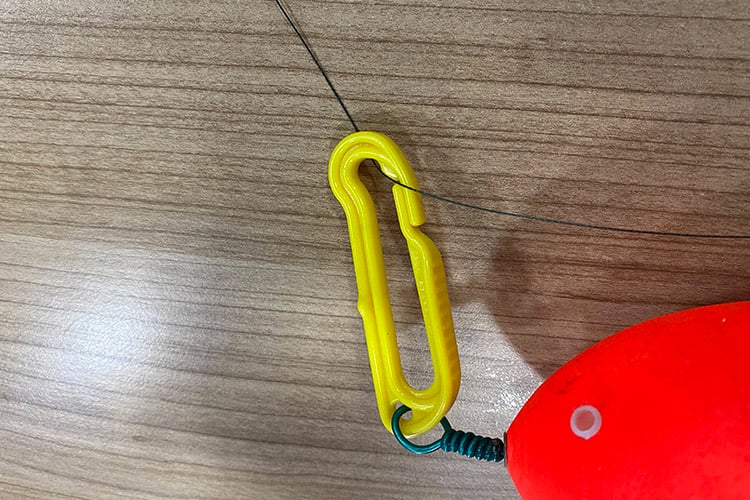
1 x Halibut Float (make sure you get the weight correct for the weight you will using)
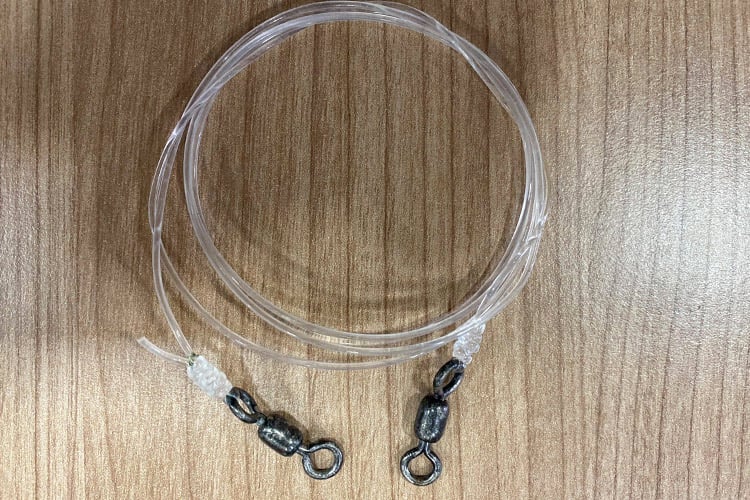
1 x 150lb mono leader (Swivel at each end)
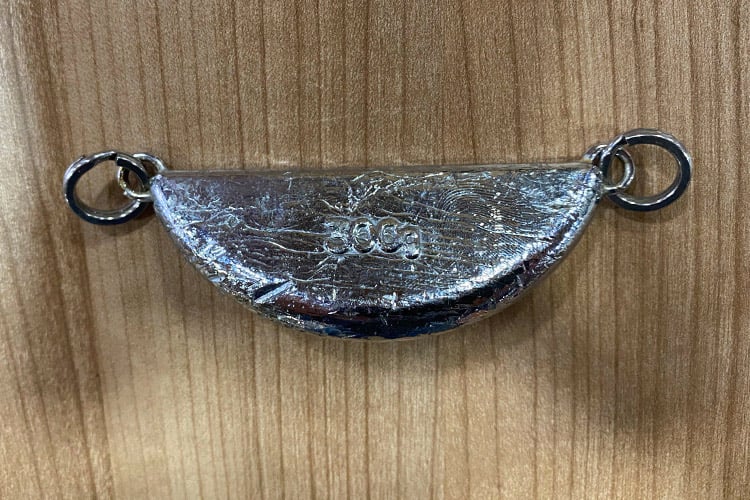
1 x Anti-twist lead (Size of lead depends on bait size and how much tide there is)
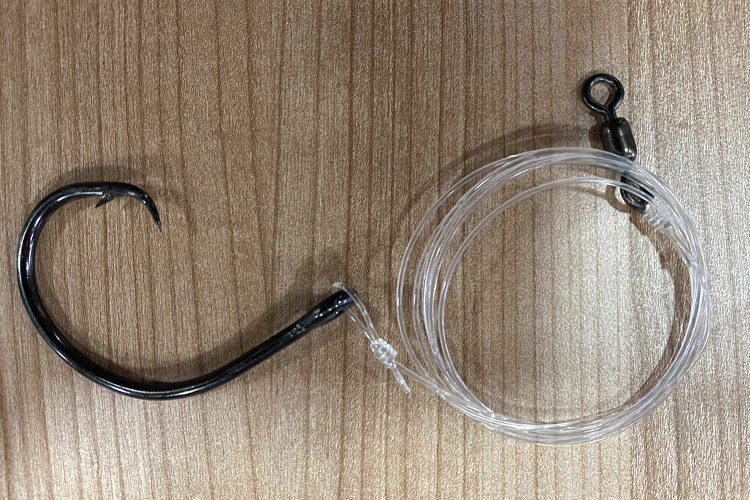
1 x 150lb mono hook length either with circle hook or two trebles (circle hooks are better for the fish)
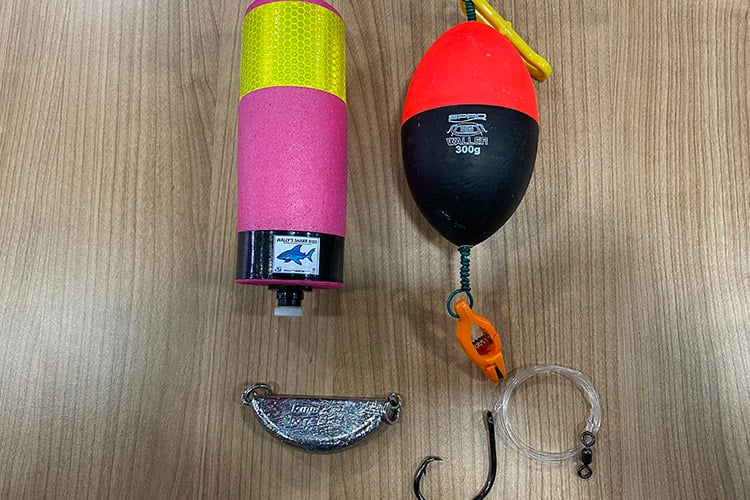
OK, so now you have your components its time to rig it up. You will notice that the float has two attachments. The top one is where you line will pass through and the bottom clip is where you will control the depth of where your bait sits. (See image below). The float will be attached at a later stage

The next part will be your leader which attaches to your braided mainline. I like to use 150lb and around 1m in length with a heavy-duty swivel at each end. One end will attach to your braid the other end will attach to your Halibut Anti Twist lead via a split ring.
Next part is the lead. This is important as you need to make sure you have enough weight to keep the fish down where you want it but not too much that it causes the float to sink. I like a weight of around 250 – 300g. It is important that it has a split ring on each end. Colour-wise, this is a personal choice, there is no right or wrong. I personally like to have some flash on mine hence why I have had some chrome coated, catches the sun and creates a nice flash in the water bring the Halibut up to investigate. You will see below the lead set up that works really well for this rig.
Now the last and very important part and that’s the hook and hook length. Again this is a personal choice but I prefer to use a good quality circle hook (size all depends on bait being used). There are so many brands out there of excellent quality hooks, so do not scrimp on the cost of these as at the end of the day this is what attaches you to your prize. Hook link, I like to use again 150lb mono and like this to be at least 6ft long and some people even have this up to 10ft long. You will need to attach a heavy-duty swivel to one end then you hook arrangement at the other. I like to have multiple hook lengths tied ready to fish with. Here is what my hook lengths look like
Now that you have all the components it’s time to run through how to set it all up. This will all become a lot clearer once you are out on the boat, but this will give you an idea of how to put all your components together.
How to set up a float rig for Halibut
- Start by tying your braid to your 150lb mono leader via the heavy-duty swivel at one end of the mono leader.
- On the other end of the 150lb mon leader will be the swivel that will attach to the Halibut anti-twist lead. You will need a pair of split ring pliers to help with this.
- On the other end of the Anti-twist lead, you will find another split ring, this is where you will attach the swivel on your mon hook length
- Attach you 150lb mono hook length via a swivel to the Anti-twist lead
- Attach fish and the process is ready to fish with.
OK, now you have your float rig ready to fish with, it is now time to get the whole lot in the water and down to the desired depth. The is no right or wrong depth to fish your bait, but remember that you have a length of mono hook length after your lead so whatever length hook length you are using, needs to be at least that off the bottom otherwise, you will keep snagging the bottom with your hook.
The best way to work out the depth is to look at the fish finder, see what depth you are at then work out what depth you will finish at after your drift. So let’s say you started to fish in 40m of water and you were going to drift into 12m of water, I would look at setting my weight at around 20-25m and then change the depth as you approached the shallower part of your drift.
So, you are ready to put your rig in the water, you know roughly what depth you want it at. Lower the rig over the boat into the water (excluding the float) lower the weight and the fish bait through your fingers until the weight hits the bottom. Now wind the weight back up to the desired depth, hold the rod behind you then grab your float. Clip the top sliding clip over the braid then the locking clip on the bottom of the float will need to be opened and place the braid in the clip. This clip will then hold the braid tight, locking the weight and bait at the desired depth. Now let the float go and pay line out on free-spool. While the reel is in free-spool the boat will drift away from the float, I like to have to float around 50m behind the boat, once you have got your required distance away from the float simply put the rod in the rod holder and ease your drag up until no line is being pulled out, but make sure you do not overtighten it. It is important that if you get a take and you are not looking then the Halibut can run with little resistance. Now sit back and wait for the bite.
I like having the float away from the boat and the noise on the boat that way people can carry on fishing with other methods and you can just leave the rod out the back like a sleeper rod. What you may find is that this rod receives more action than any other rods on the boat, it may be because of the noise of the boat, the lures and other tackle may insight the Halibut then they may get put off and then a bait is drifted over their heads which normally encourages a bite where the other rods didn’t work. Whatever the reason, it works really well and we would highly recommend the next time you are out in Norway that you give this exciting method a try, it brings out the kid in all of us and the noise of the float plopping under, takes some beating. Hope you found this blog useful and will try it for yourself one day.
Remember that is you are a little unsure on setting up tackle or are new to fishing in Norway, perhaps joining one of our fully hosted trips could be a good starting point to spark that fire. You will be fishing alongside like-minded anglers while being helped each day to ensure you get the most from your experience.
Tight lines,
Paul
Contact Us
If you would like to discuss Halibut fishing in more depth or even to discuss a potential upcoming trip to one of our amazing Norway destinations, you can contact our sea fishing expert, Paul Stevens, on 01603 407596 or by emailing him directly at paul@sportquestholidays.com. If you would like to take a look at all of our Norway trips, you can do so here.