Have you ever wondered how to get the perfect picture of your dream catch, take a look below and follow these 13 top tips.
Success! Finally, after battling through a storm of tiddlers, you hit pay-dirt. You feel the big tug, and as the reel screams you do the Riverside Waltz to corral your adversary. You know you’ve got something big and, as the battle comes to a close, your heart beats faster when you get your first glimpse.You pull out the net and think, “My friends are never going to believe this,” while the fish toilet-bowls to the bottom of the mesh. Now it’s time to document the moment and get a photo that you will be proud to show off to your friends. What do you do?
- Read this list and then have fishing buddies read it. You may know how to get a decent fish pic, but the fact is that you’ve gotta hold the fish while your pal takes the photo.
- Take a deep breath and calm down. After the excitement of a good fight and the disbelief that you landed a hog, the first instinct of most anglers is to dive into the net and touch the fish. Rushing into the handling of the fish most often leads to a bad case of “Oh-crap-itis.”
- Tidy yourself up. After a second to catch your breath, give yourself a good once-over. You want to make sure that you look good for the photo so try to have all your zippers up, your pockets closed, and your wader pouch tucked in.
- Prepare the camera. While you are busy making yourself pretty, have the photographer turn on the camera and make sure the settings are correct. If it is your camera, prepare it for the photographer so that all they have to do is frame you and the fish and push the shutter release button.
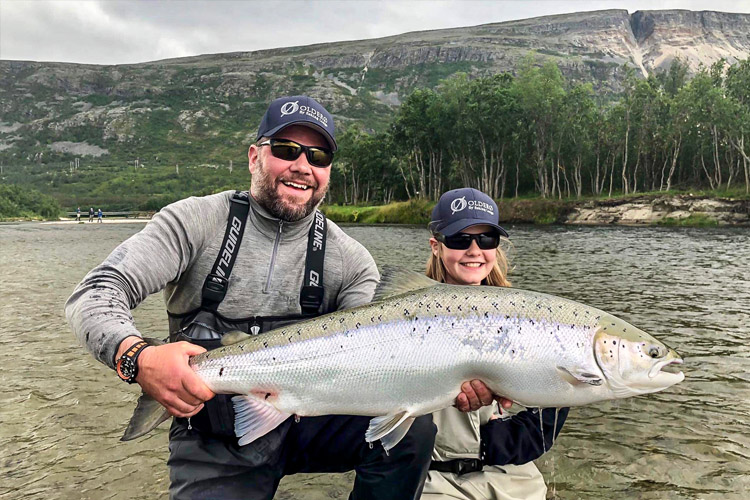
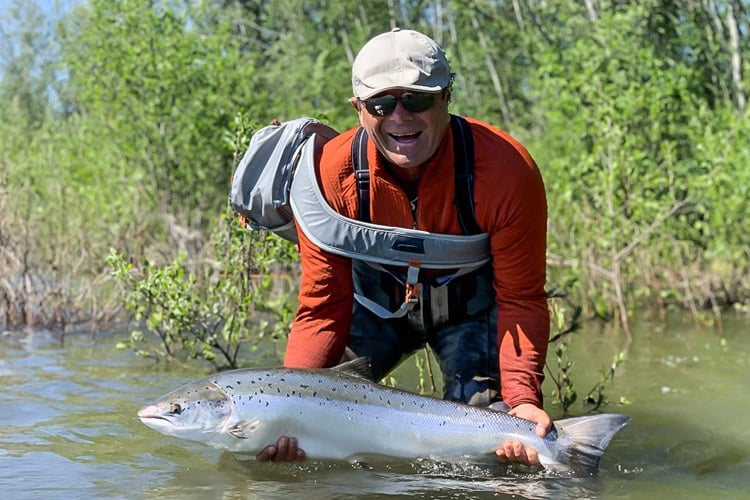
- Get in position. You want to look comfortable when you are holding the fish, so try to avoid awkward positions (such as standing hunched-over trying to hold the fish and look at the camera). The easiest position is to take a knee in about six to eight inches of water.
- Determine where the sun/light is. Generally you want the sun or the strongest light that is filtering through the clouds behind the photographer. Try to have even light on the angler’s face and on the fish, and if possible frame the shot with a darker background. If the light is strong like with mid-day sun, the fish is going to be by far the brightest object in the frame. Try to hold the fish so that the light reflects off of it with the shallowest angle possible – that is to say have the sun off to the left or right side and not directly behind the photographer.
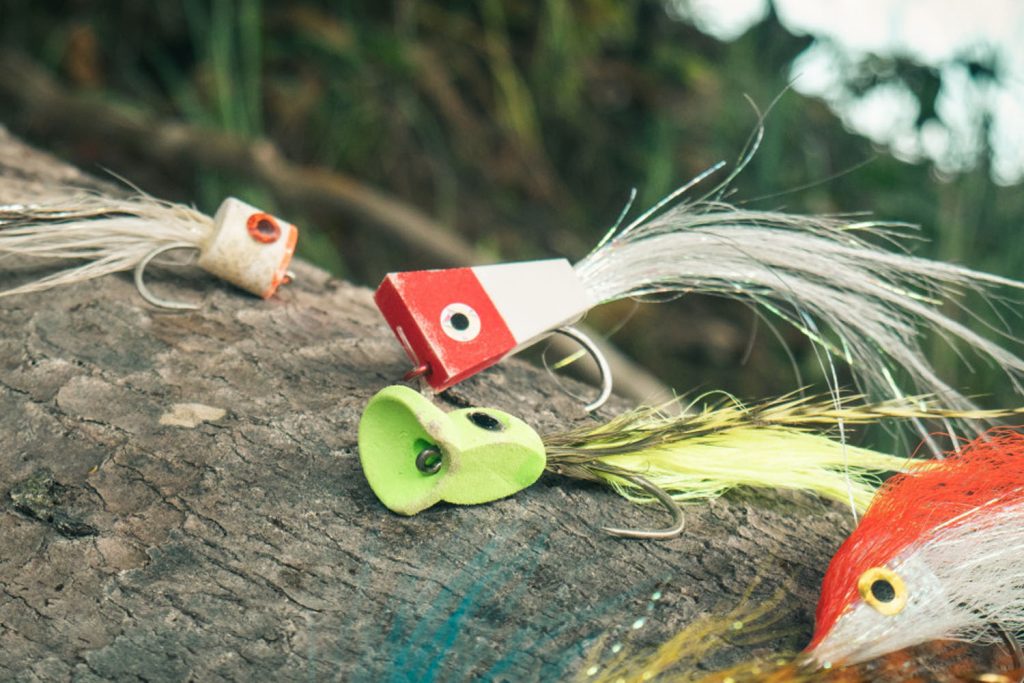
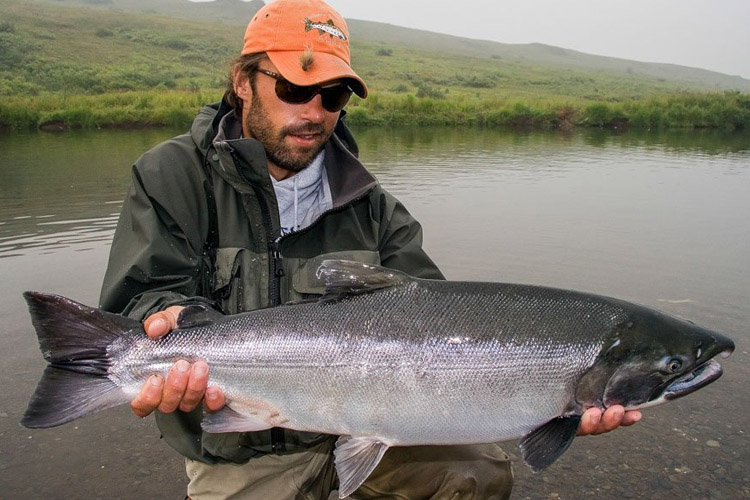
- Determine the fish’s good side. Before handling the fish, determine which side of the fish should be presented towards the camera. Obviously you want the side that looks the prettiest and has the fewest scars or marks on it. Usually the mouth and the position of the fly are the most important parts of this equation.
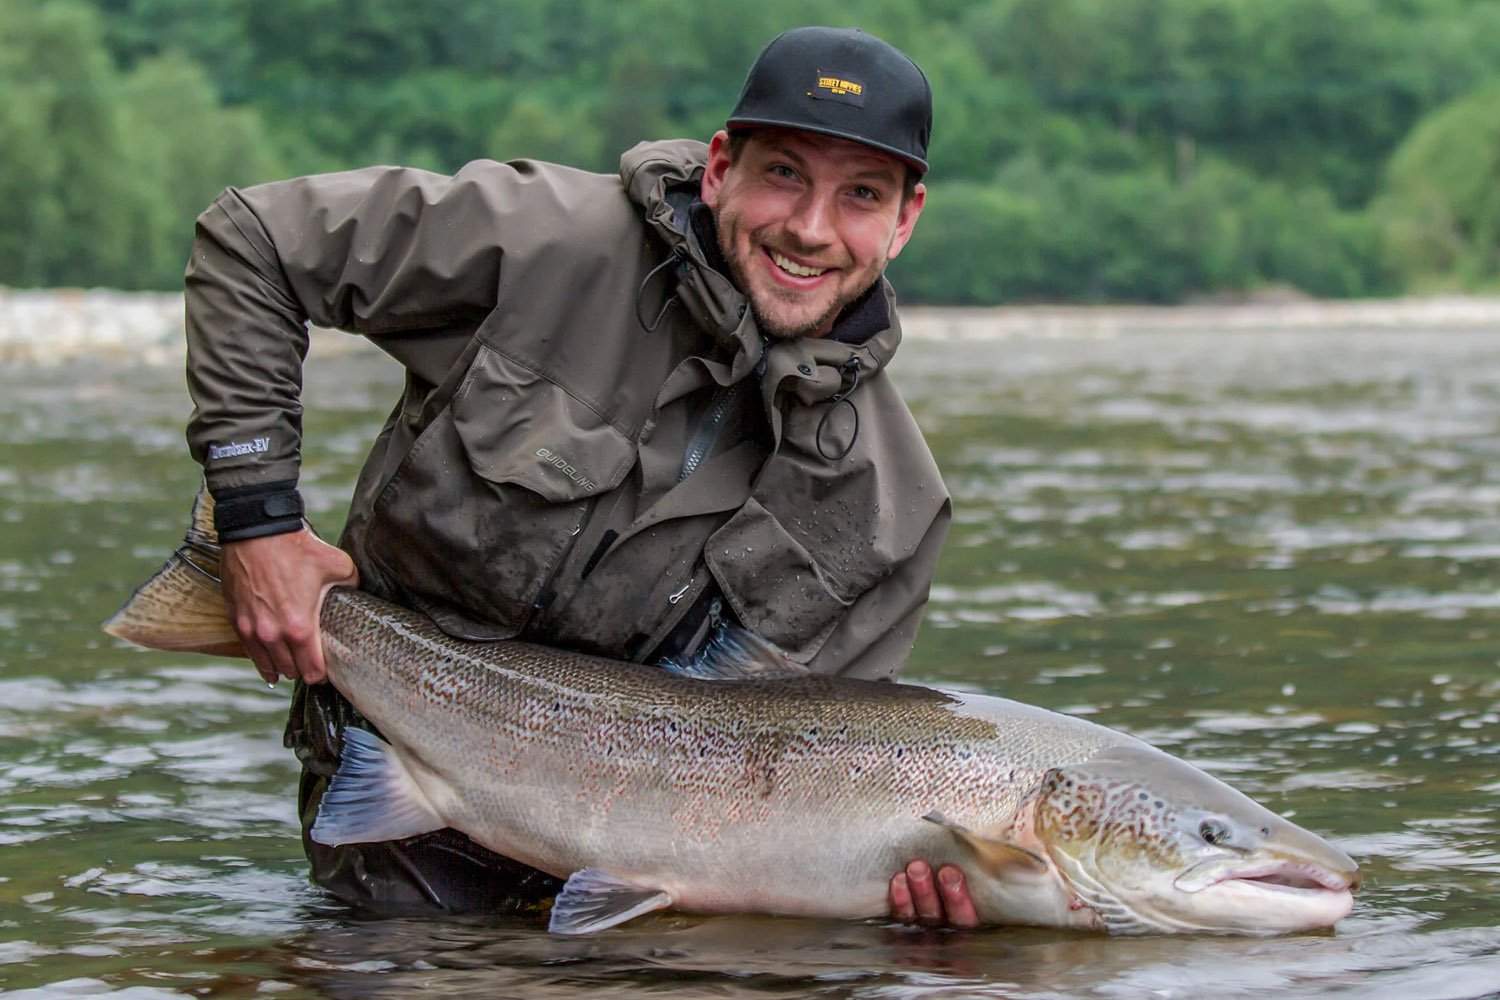
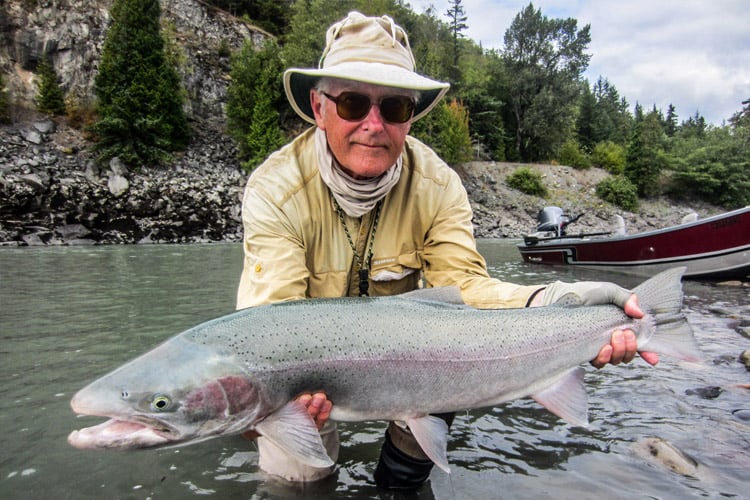
- Look comfortable. You can always tell the guys who have handled lots of fish because they look like that fish should be in their hands. Try to be comfortable and confident. Smile or don’t smile, look at the camera or look at the head of the fish. It doesn’t really matter – just try not to have the deer-in-the-headlights look.
- Handle the fish with care. Fish that are being squeezed look like their eyes are going to pop out and their mouths look like they are going to projectile vomit. With a proper grip there is no reason to squeeze the fish.
- Hide the fingers, leader, and fly line. Try to present as much of the fish as possible to camera. Avoid grips that hide the fish behind fingers and hands. Also, be conscious of where the leader and fly line are and make sure they are not crossing between the camera and fish.
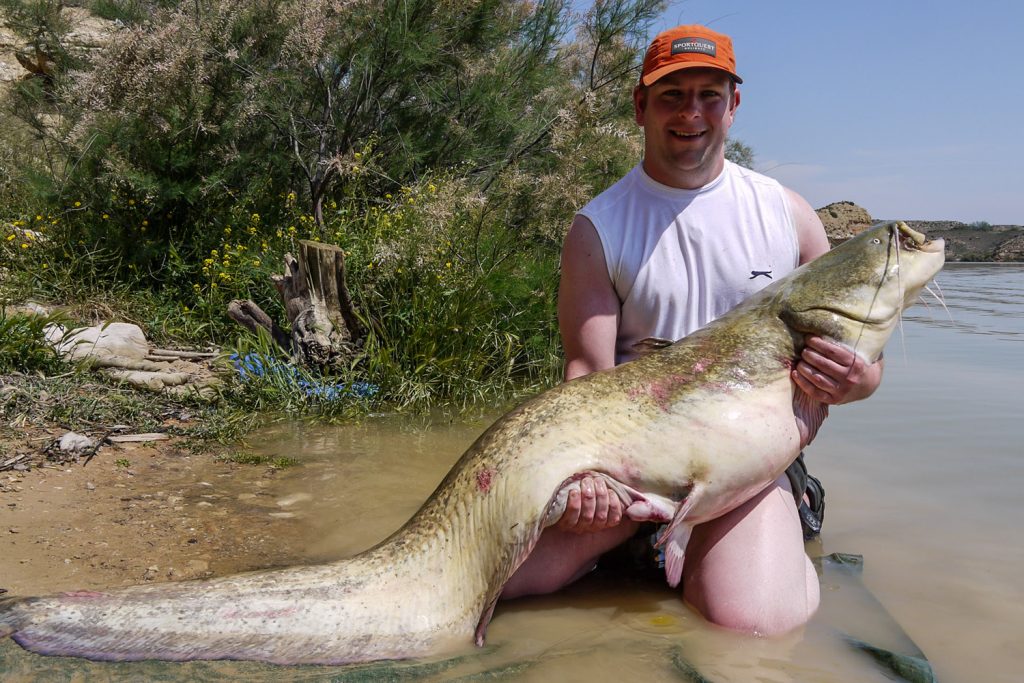
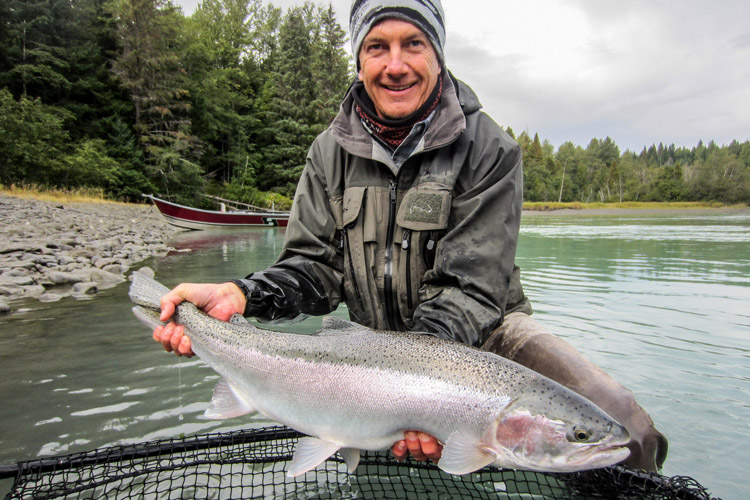
- Keep the fish close to the water. I believe that fish look more natural close to their home (the water) and that they only need to be lifted out of the water a few inches for a good photo. If the light is good, such as in the early morning or late evening, the reflection of the fish in the water is often present and can add a lot to the photo. Always take photos above water in case the fish is dropped, and avoid completely outstretched arms as if you were a five year old showing off an ice cream cone.
- Fill the frame. The important things in a hero shot are the angler and the fish. Therefore you want them to fill the frame with just a little bit of the background around the edges to provide spacing. What you don’t want is a scenery shot that has an indiscernible blob of angler and fish in the very center of it.
- Be quick. Even though this list of tips is long, the process of photographing a fish should be quick. The fish just fought for its life and is stressed and oxygen-deprived. It is not fair to torture it even more just to get a decoration for you desk. Keep the fish in the water until the moment everybody is ready to take the picture. Take a quick picture or two and then put it back in the water and revive it until it swims out of your hand. If the photographer is quick, he can often get a good picture of the revival/release process.
One last note on reviving fish – in rivers, a fish must be pointed upstream for it to breathe properly. I’m surprised at how many people don’t know this.
With these tips in mind, your next close encounter of the lunker kind will get a photo that not only shows that you are an angler that gets results, but that you look good while you are doing it.
Cheers!
Contact us
If you would like to discuss any of our fantastic tours with our dedicated team of professionals, you can contact them directly via email at paul@sportquestholidays.com or by calling 01603 407596.